Are you looking to add some fresh and healthy greens to your diet? Do you have limited space or time for gardening? Microgreens might just be the perfect solution for you! These tiny plants are packed with nutrients and can be grown easily, even in small spaces like apartments.
In this guide, we will take a closer look at growing microgreens from start to finish. We’ll explore what microgreens are, why they are so beneficial, and what you need to consider before starting your own microgreen garden. We’ll also provide tips on how to grow and harvest these delicate greens, as well as creative ways to use them in your cooking. By the end of this article, you’ll have all the information you need to get started on your own microgreen journey!
What are Microgreens?
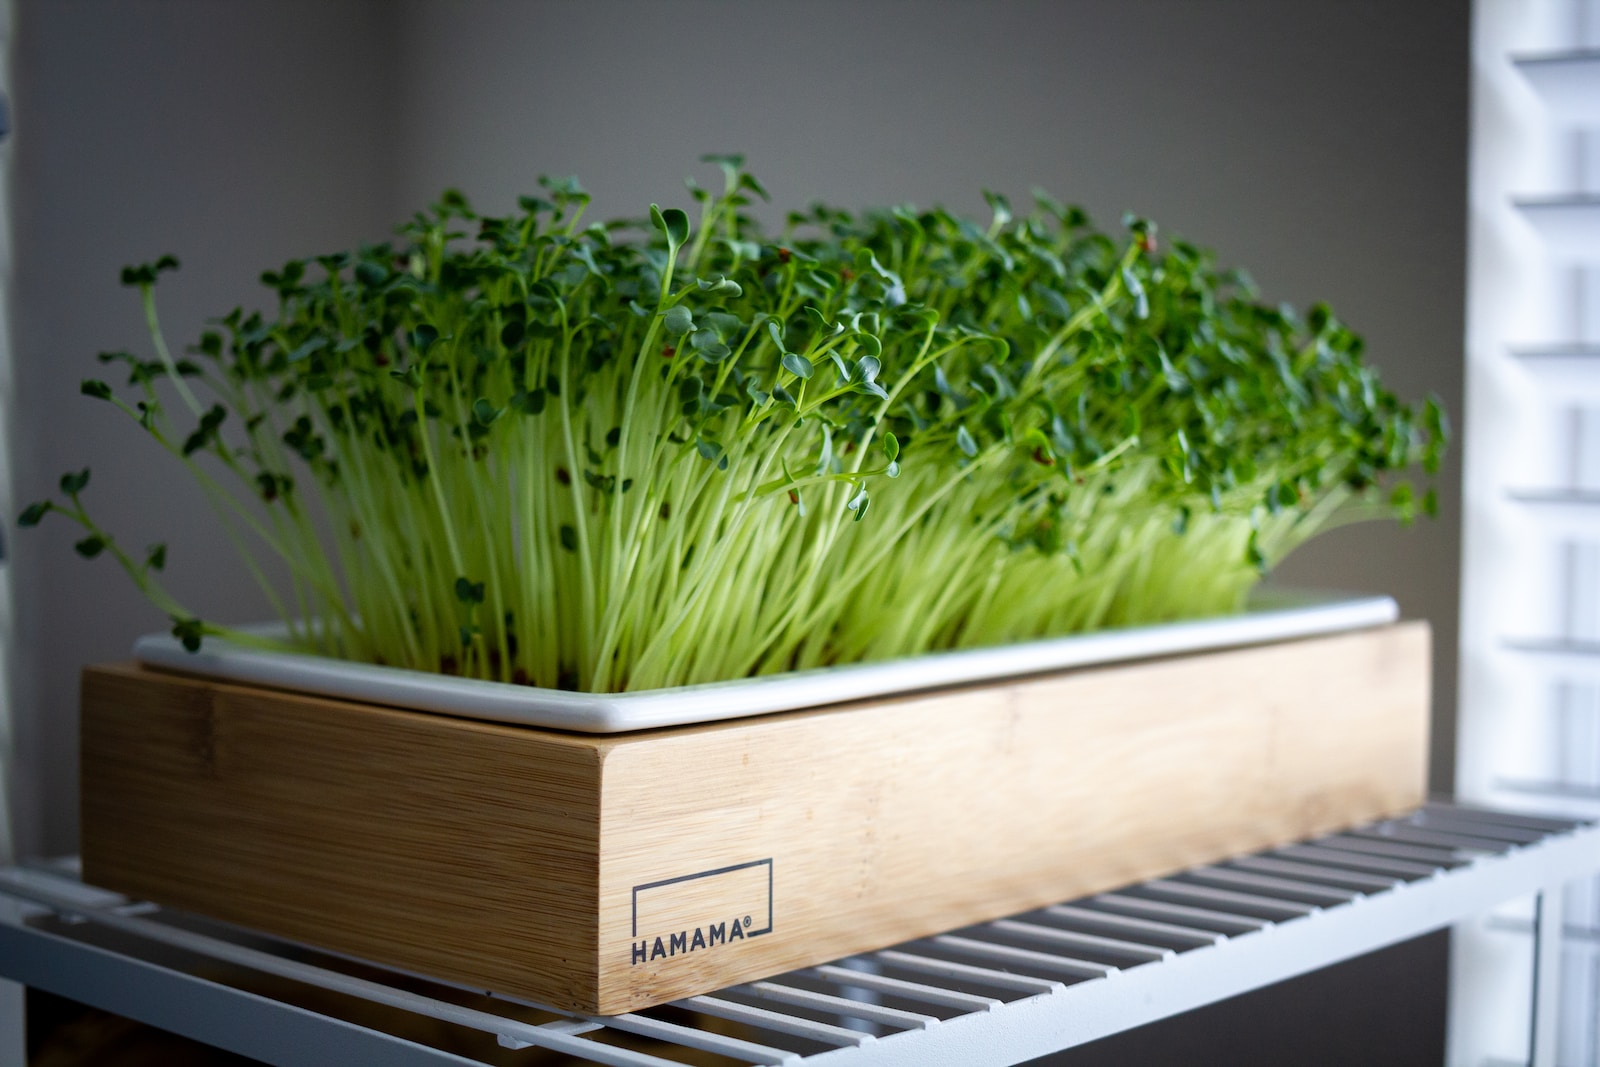
Microgreens, also known as vegetable confetti, are young and tender plants that are harvested just before they reach maturity. They are the perfect addition to any meal, salad or smoothie due to their small size and nutritional value. Although they’ve been around for centuries, it wasn’t until recently that these tiny greens have gained popularity among chefs and health enthusiasts alike.
Microgreens belong to the same family as sprouts but differ in a few ways. Sprouts are germinated seeds consumed whole when they’re a few days old whereas microgreens grow from seedlings allowing them to develop leaves and stems before harvesting. Microgreens can be harvested anywhere between one to three weeks after planting depending on what variety is being grown.
Their small size makes them easy to grow indoors all year round regardless of where you live. They’re rich in antioxidants, vitamins and minerals making them an excellent source of nutrition and a great way of adding flavour to food without adding salt or sugar.
 Benefits of Growing Microgreens
Nutritional Value of Microgreens
Microgreens are incredibly nutrient dense, packing a powerful punch of vitamins and minerals such as iron, magnesium, potassium, zinc, and vitamins A, C, and E. In fact, studies have shown that microgreens can contain up to 40 times the nutritional value of their mature counterparts. Adding microgreens to your diet can help boost your immune system and improve overall health.
Cost Effective and Convenient
Growing microgreens at home is an affordable way to add fresh greens to your diet without breaking the bank. Unlike traditional gardening which requires a lot of space and effort, growing microgreens can be done indoors with minimal equipment or space required. Plus, you can harvest them within a few weeks of planting, making them an incredibly convenient option for busy individuals who want fresh produce on hand.
Environmentally Friendly Option
Microgreens are a sustainable food source that requires minimal resources to grow. They use less water than traditional farming methods while producing more yield per ounce. Plus, since they are typically grown indoors in controlled environments with no need for pesticides or herbicides, they are a safer option for both the consumer and the environment. Overall, growing microgreens is an excellent way to improve your health while minimizing your environmental impact and saving money in the process. With so many varieties available to grow at home, it’s easy to find ones that suit your taste preferences and dietary needs.
Things to Consider Before Starting Microgreens
Growing microgreens may seem like an easy task, but it involves some considerations that are essential for a successful harvest. Here are some things you should think about before starting your microgreen garden:
1. Space and Light
Microgreens require just a small amount of space to grow, but they need adequate light to thrive. Choose a location in your home or outdoor space that gets plenty of natural light during the day. If you are growing microgreens indoors, consider using grow lights or fluorescent lamps to provide the necessary light.
You’ll also need space for containers, trays, and other equipment needed for growing microgreens. Consider whether you have enough storage space for these items and if the area where you plan to grow microgreens has enough room.
2. Soil and Water
The quality of soil and water you use will significantly impact the growth of your microgreens. The soil should be rich in nutrients and have good drainage properties. You can either purchase pre-mixed potting soil or make your own by mixing together peat moss, vermiculite, and perlite in equal amounts.
You’ll also need access to clean water with no added chemicals such as chlorine that might harm your plants’ growth.
3. Time Commitment
Growing microgreens requires some time commitment as it involves regular maintenance tasks such as watering, fertilizing, and harvesting. The time required can vary depending on the variety of the plant you choose to grow.
The average time required from planting to harvesting is around 7-14 days but can be longer for some varieties. Therefore, it’s essential to set aside enough time each day to take care of your plants’ needs.
However, the satisfaction and enjoyment of watching your microgreens grow and harvesting them make the time commitment worth it in the end.
Best Varieties of Microgreens for Beginners
If you’re new to growing microgreens, selecting the best varieties for your first attempt can be challenging. Some varieties may be more difficult to grow than others, while some may not produce the desired results you expect. In this section, we’ll look at some of the best microgreens to start with.
1. Sunflower Microgreens
Sunflower microgreens are packed with nutrients and are one of the easiest varieties to grow, making them ideal for beginners. They have a subtle nutty flavor and a crunchy texture that makes them perfect in salads or sandwiches. You can sow sunflower seeds directly onto moist soil and keep them consistently moist until they sprout in less than a week.
2. Pea Shoots Microgreens
Pea shoot microgreens are another good choice for beginners because they’re easy to grow and don’t require much space or special equipment. They have a delicate sweet flavor like fresh peas and add a pop of color to any dish. You can start pea shoots by soaking seeds overnight before sowing them on top of soil in trays or containers.
3. Radish Microgreens
Radish microgreens have an intense spicy flavor that adds a zing to salads, sandwiches, and other dishes. They’re also very easy to grow and mature quickly compared to other crops, making them popular among beginners who want quick results. Sow radish seeds on top of soil in trays or containers, water regularly but avoid overwatering as it could lead to mold growth.
Growing your own food is an exciting journey full of learning opportunities! Remember that experimentation is key when starting out with growing microgreens: try different methods until you find what works best for you and your chosen varieties. By planting these easy-to-grow microgreens, you’ll be on your way to a successful harvest in no time.
Growing Microgreens Indoors vs Outdoors
When it comes to growing microgreens, one of the biggest decisions is whether to grow them indoors or outdoors. Both options have their benefits and drawbacks, so it’s important to consider your specific situation and needs before making a decision.
Indoors: Growing microgreens indoors is a popular option for those who want to enjoy fresh greens year-round. Indoor growing also allows for more control over factors such as temperature, light, and humidity. Additionally, indoor growing can be more convenient for those with limited outdoor space or harsh weather conditions.
Creative Tip: Consider setting up an indoor microgreen garden in your kitchen or living area. Not only will you have easy access to fresh greens for cooking and snacking, but they can also serve as a unique decorative element.
Outdoors: While outdoor growing may require more work and attention due to weather fluctuations, it can also provide benefits such as natural sunlight and fresh air circulation. Outdoor growing can also allow for larger yields than indoor growing due to the unrestricted growth space.
Creative Tip: Create an outdoor microgreen garden as an addition to your existing vegetable garden. This not only adds variety to your harvest but also allows you to experiment with different varieties of microgreens in an outdoor environment.
How to Plant Microgreens
Now that you’ve decided to start your own microgreen garden, it’s time to get your hands dirty and start planting! Here are some steps to follow:
Step 1: Choose Your Container
The first thing you need to do is choose the container where you will plant your microgreens. You can use anything from plastic trays and pots, to recycled containers such as egg cartons or milk cartons. It’s important that the container has holes at the bottom for drainage.
Step 2: Add Soil
Add a layer of soil that is about an inch thick into your chosen container. Make sure that it is evenly distributed throughout the entire surface area of the container.
Step 3: Sow Your Seeds
Sprinkle a generous amount of seeds on top of the soil. Make sure they are evenly distributed throughout the surface area of the container so they can grow together uniformly.
“You might want to experiment with different types of soil mixes or seed densities for best results.”
Step 4: Water Your Microgreens
Gently water your microgreens with a spray bottle or watering can. Make sure they are well-watered but not overwatered, as too much moisture can lead to mold growth.
Step 5: Cover Your Container
Cover your container with plastic wrap or another type of cover until germination occurs. This will help keep moisture in and create a greenhouse effect which will promote growth.
“Remember to remove the cover once germination has occurred, otherwise you may risk suffocating your microgreens.”
Step 6: Provide Adequate Lighting and Airflow
Place your microgreens in a sunny area or use artificial light if necessary. Proper lighting is crucial for the growth of your microgreens. Additionally, make sure there is adequate airflow to prevent mold growth.
With these six steps, you are well on your way to enjoying fresh, nutrient-dense microgreens right from the comfort of your home or garden!
Tips to Take Care of Microgreens
Microgreens need proper care and attention to grow healthy and tasty. Here are some tips to ensure your microgreens thrive:
Watering
Consistent watering is important for microgreen growth. Be sure not to overwater or underwater the seeds. Use a spray bottle with a fine mist nozzle to water the seeds gently, ensuring they don’t get washed away. Keep the soil moist, but not too wet as it can lead to mold growth.
You may also want to consider using filtered or distilled water as some tap water contains high levels of chlorine and other chemicals that can harm your plants.
Lighting
Microgreens need adequate light for photosynthesis. Natural sunlight is ideal, but if you’re growing indoors, you’ll need an artificial light source like fluorescent or LED lights. Be sure to place them 2-4 inches above the seeds and adjust accordingly as the plants grow.
Avoid exposing your microgreens to direct sunlight as it can cause drying up and yellowing of leaves.
Air Circulation
Air circulation is important for preventing mold growth on your microgreens. Ensure there’s enough air flowing by opening windows or doors for ventilation or using a fan if necessary.
You may also want to avoid overcrowding by planting fewer seeds in each container, giving room for proper air circulation between them.
Incorporating these tips into your care routine will help ensure success in growing healthy and tasty microgreens!
 Harvesting Microgreens
 Harvesting Microgreens
When to Harvest Microgreens
The ideal time to harvest microgreens is when they have grown to a height of 1-2 inches and the first true leaves have appeared. This usually takes about 7-14 days from the day of planting. However, it is best to check the growth rate of each variety you are growing as some may take longer or shorter periods to mature.
It is important not to wait too long before harvesting your microgreens as they can become overgrown, reduce in taste and quality or even bolt (go to seed). On the other hand, harvesting too early can result in underdeveloped flavors and colors.
How to Harvest Microgreens
To harvest your microgreens, use a pair of sharp scissors or a knife and cut them just above the soil level. Avoid pulling them out as this might damage their roots which are still developing. Cut them in small batches and keep them refrigerated until you are ready to consume or use them.
You can also store harvested microgreens for up to a week by placing them in an airtight container lined with paper towels before storing them in your refrigerator’s vegetable drawer. This will absorb excess moisture and help keep your greens crisp and fresh for longer.
Creative Ways To Use Your Harvested Microgreens
Your harvested microgreens can be eaten raw, added as toppings on salads, soups, sandwiches or used as garnishes on different dishes. They add color, flavor, texture and nutritional value to any meal. Additionally, you can blend different varieties together for enhanced flavor profiles.
You can also experiment with cooking your microgreens by adding them at the end of your cooking process so that they retain their nutrients and freshness. You can sauté, steam or stir-fry them with other vegetables, or add them to your smoothies for a vitamin boost.
Finally, you can share the joy of growing microgreens with others by gifting them to friends and family or selling them at local farmers’ markets. They are a great addition to any healthy lifestyle and have become increasingly popular due to their numerous benefits.
Creative Ways to Use Microgreens
Microgreens are not only healthy and nutritious, but they also add a pop of color and flavor to any dish. Here are some creative ways to use microgreens in your cooking:
1. Salad Garnishes
Sprinkle microgreens over your salads for extra crunch and flavor. They make great substitutes for traditional garnishes like croutons or bacon bits. You can add them before serving or mix them into the salad for a more integrated taste.
For example, try adding red amaranth microgreens to your next Caesar salad for a touch of color, or use pea shoots as an alternative to arugula.
2. Toppings for Sandwiches and Wraps
Add microgreens as toppings in sandwiches or wraps instead of lettuce. They provide more nutrition than lettuce, have a crunchier texture, and add interesting flavors that will really elevate your sandwich game.
You can try using spicy radish microgreens in your veggie wrap or adding broccoli microgreens to your turkey sandwich.
3. Flavorful Juices and Smoothies
Mix different types of microgreens into juices and smoothies for added nutrition boosters with a unique taste profile!
You can try blending tangy mustard greens with sweet pineapple juice or mixing up some kale juice with apple juice along with cilantro microgreen on top as garnish.
In conclusion, there is an endless number of ways you can incorporate these tiny superfoods into your diet! Try experimenting by adding different types of fresh sprouts into any meals you prepare!
Microgreens as a Business Opportunity
Microgreens are not only a healthy addition to your diet but also a lucrative business opportunity. The demand for locally grown, fresh produce is increasing, and microgreens are becoming an integral part of this trend. Starting a microgreen business can be an excellent way to turn your passion for gardening into a profitable venture.
Market Potential
The market potential for microgreens is immense, and the demand is set to increase in the coming years. Microgreens have gained popularity among health-conscious consumers due to their high nutritional value and unique flavors. They offer chefs, restaurants, and home cooks alike an alternative to traditional herbs and spices while adding vibrant colors and textures to dishes.
As more people become aware of the benefits of microgreens, the market is expanding. You can sell directly to consumers through farmers’ markets or online platforms such as Etsy or Instagram. Additionally, you can approach restaurants or grocery stores in your area for potential partnerships.
Starting Your Business
To start your business, you will need suitable equipment such as grow lights, trays, potting soil, seeds or starter plugs. You will also need space either indoors or outdoors where you can grow your microgreens without any disturbances or pests.
You should research different varieties of microgreens that are popular in your area and find out which ones have the highest profit margins. Once you decide on what type of microgreens to grow, start small with just a few varieties before expanding gradually over time.
Pricing is crucial when starting any business; make sure you price competitively while still making enough profit margin per tray sold. Finally take advantage of social media platforms that will enable you to not only advertise but connect with other growers in your area who may be able to offer advice and support.
Conclusion
In conclusion, growing microgreens is a fun and rewarding hobby that can provide you with fresh, healthy greens all year round. With the right tools, knowledge, and patience, anyone can grow microgreens successfully. Not only can you enjoy the benefits of having these nutrient-dense greens in your own home but also share them with friends and family or even turn it into a business opportunity. So why not give it a try? Start small and let your green thumb grow!